Have you recently upgraded to Windows 11 or bought a new device with Microsoft's new operating system installed? If so, you’re in for a treat. This newest version of Windows promises users better battery optimization than previous iterations.
Unfortunately, like any software, early updates come with bugs and issues. A nasty bug may sometimes affect the battery life of your device, draining it quickly. But, don’t fret. Here are some adjustments you can make to improve your device’s battery life, allowing you to make the most out of your Windows 11 system.
6 Tips to Improve Your Windows 11 Battery Life
There are a few different tricks you can try to improve battery life on Windows 11, from updating the system to tweaking its power settings.
1. Keep Your System Up-to-Date
An outdated operating system can be detrimental to your device. Apart from security threats, it can introduce system issues that drain your battery quickly. This is especially true for a new system like Windows 11.
Therefore, updating your computer allows Microsoft to patch security holes, add new features, and improve the system’s performance. In the long run, this makes the system run more efficiently, thus reducing the power it uses.
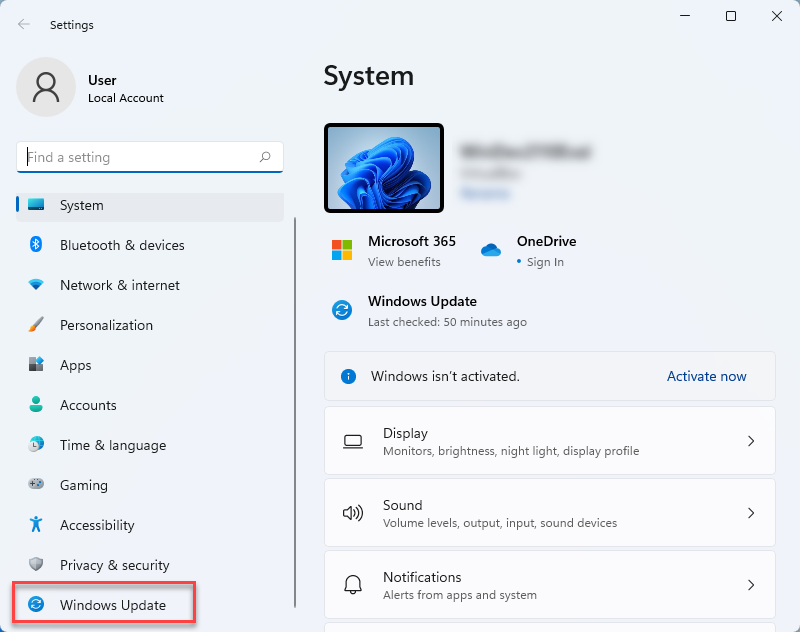
To check for updates on Windows 11, follow the steps below:
- First, press Win + I keys to open Settings.
- On the left-side panel of the Settings page, click Windows update.
-
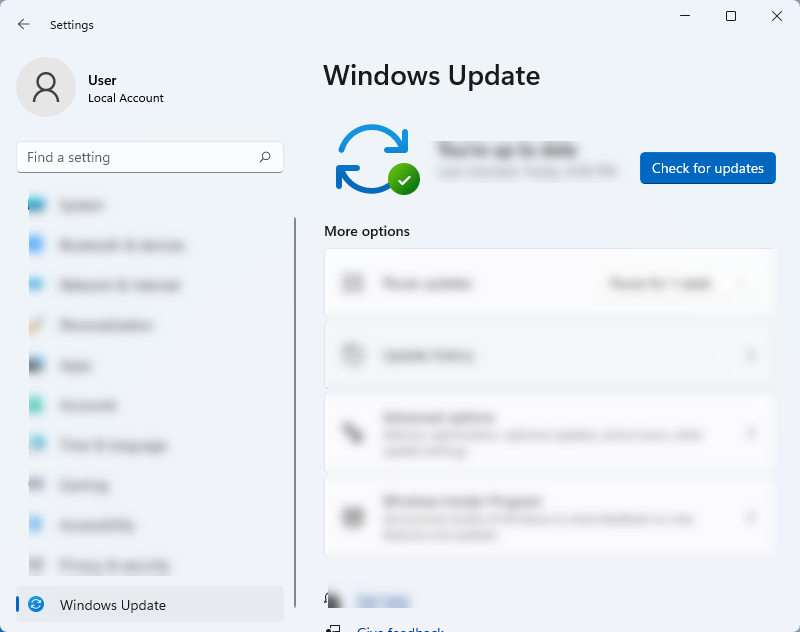
Then, click Check for updates. This will allow your system to scan for newer versions so you can install them in your system.
-
If there are available updates, download and install them.


2. Change Display Settings
Your screen is one of the most power-hungry components of your laptop. For example, the higher the brightness, the faster your battery will drain. That’s why if you want to conserve your battery, dim your screen. Here’s how you can change your display settings:
- Open Settings by pressing Win + I.
- Then, click System > Display.
- Under Display, Use the slider under Brightness to adjust the brightness of the device.
3. Use the Battery Saver
Like Windows 10, Windows 11 also comes with its own Battery Saver mode, allowing you to get more of your battery by automatically adjusting the screen brightness, limiting notifications and background activity. You also have the option to automatically turn on this feature when your battery reaches a certain percentage. Follow the steps to enable the Battery Saver feature:
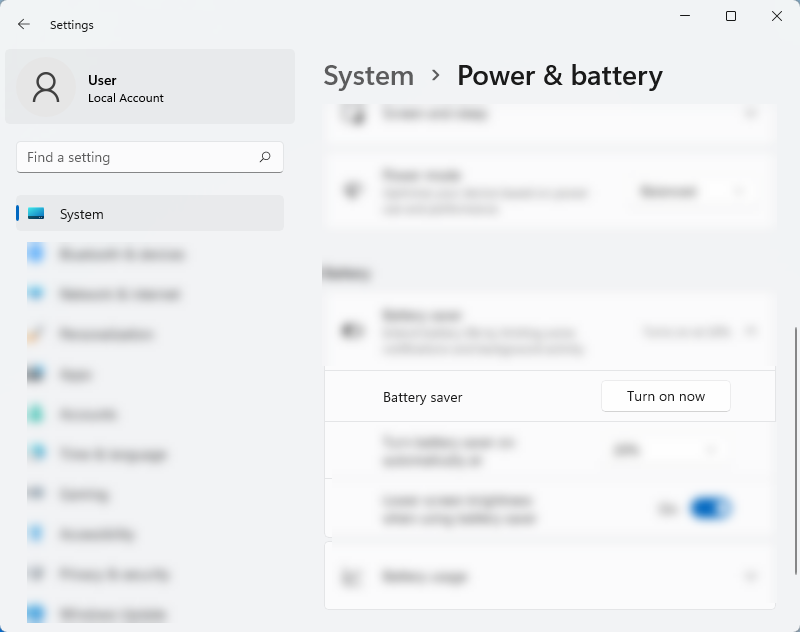
- Under Settings, click System > Power & Battery.
- Click the toggle button under Battery saver to turn it on manually.
-
If you want to enable this feature automatically, choose your preferred battery percentage under the drop-down menu of Turn battery saver on automatically at. This allows the Battery Saver to turn on right when your battery hits your desired percentage.


4. Customize Your System's Power Consumption
Power consumption refers to the energy that the laptop consumes from the moment it is fully charged. Essentially, all the processing and computing that your device does puts its components under pressure, demanding power from the battery.
The Windows 11 system allows you to choose from its templated power plans. Here are them:
- Best Performance: This power plan is best for people who’d like to trade off battery runtime to improve the speed and responsiveness of their machine. However, this will drain your battery quicker than it usually would.
- Best Power Efficiency: This mode delivers longer battery life than the default settings of your system. However, it may stop some apps from running in the background and control the brightness of your computer.
- Balanced: This is the default power mode, and it is a mix of both best battery and best performance.
To improve the battery lifespan of your Windows 11 device, follow the steps below to change your default power mode to the best power efficiency plan:
- Open Settings by pressing Win+ I. You can also click the Start icon > Settings.
- Then, click System > Power & battery.
-
Under the Power mode, choose Best power efficiency.
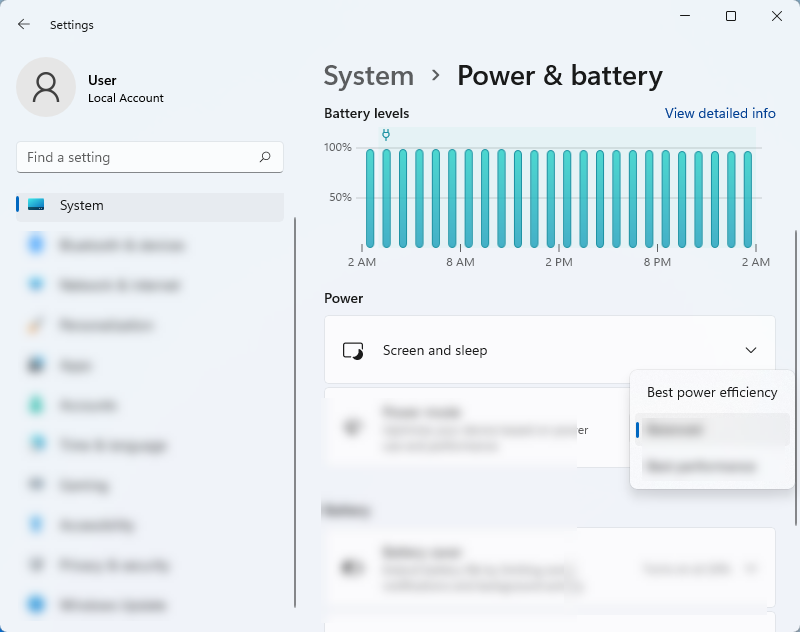

Note: The availability of this setting depends on your laptop’s hardware and manufacturer. Some devices do not have this option.
If you don’t like to use the templated power plans in Windows 11, you can create your plan depending on your usage. Here’s how:
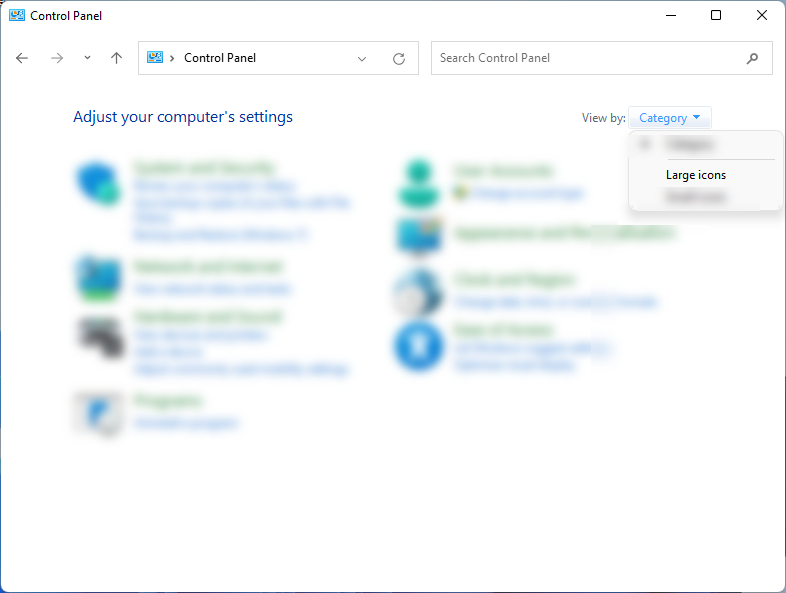
- Open Control Panel by pressing Win + R. Then, type control and press Enter.
-
On the Control Panel, click the drop-down option beside View by and choose Large Icons.

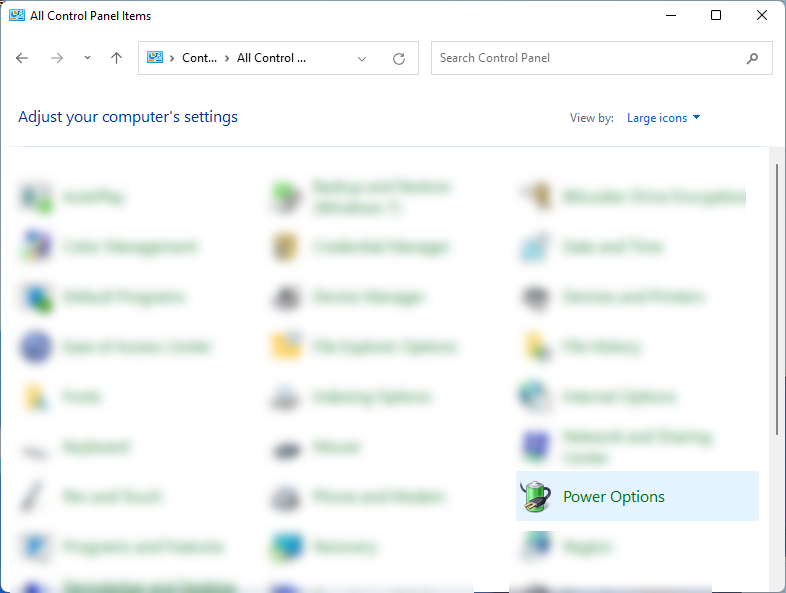
-
Then, click Power Options from the Control Panel menu.
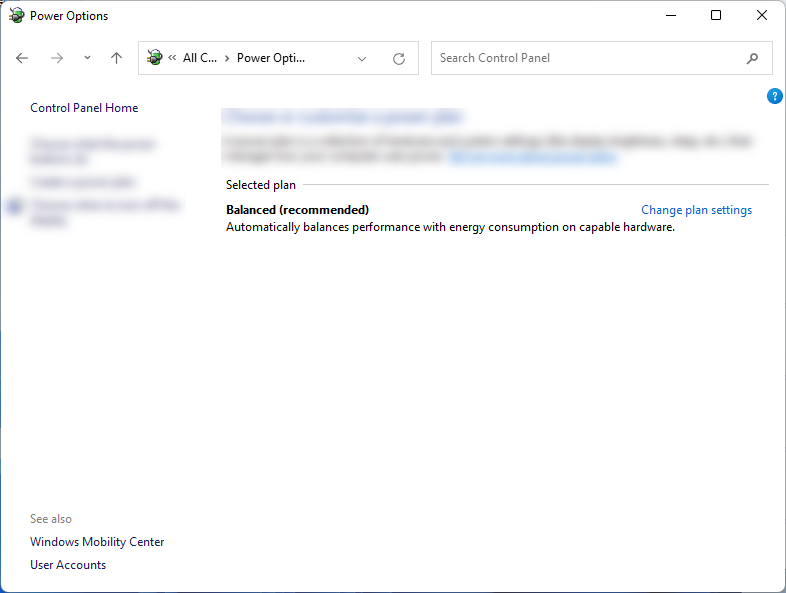
-
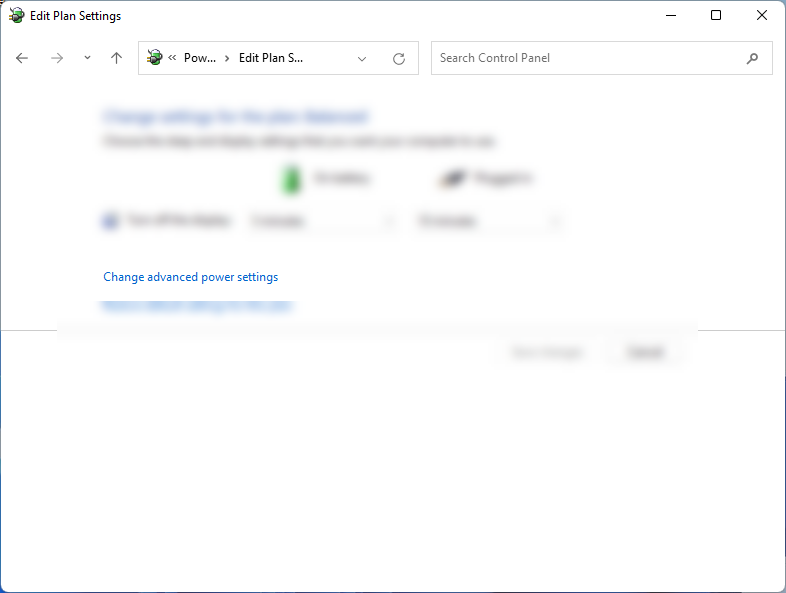
Under Power Options, click Change plan settings.
-
Then, click Change advanced power settings.
-
From this Power Options window, you can choose settings that demonstrate how you want your computer to consume power. For example, you can adjust when your hard disk turns off after a period of inactivity. You can also restore it to the default setting if you‘re not happy with your customized power plan. Once you’re done, click Apply, then Okay.


5. Change the Background Activity of Some Apps
Running too many apps in the background can drain your battery quickly. AN excellent way to improve your battery life is to stop some apps from running in the background, especially those not needed. Here’s how.
- Press and hold Windows + I keys to open Settings.
- Next, click System > Power & battery.
- Under Battery Usage, check which apps might be consuming more battery in the background. For apps that allow you to manage the background activity, select the Three vertical dots icon, then Manage background activity.
- On the app’s settings page, change the setting under Let this app run in the background.
6. Make Your Computer Sleep Faster
Another great way to improve your device’s battery is automatically turning off your system when not in use. The best way to do this is to shorten the sleep wait duration. For example, instead of waiting for an hour or more before the device automatically sleeps, shorten the waiting period to 30 minutes or so. Here’s how to do that:
- Open Settings through the Start menu or by pressing Win + I.
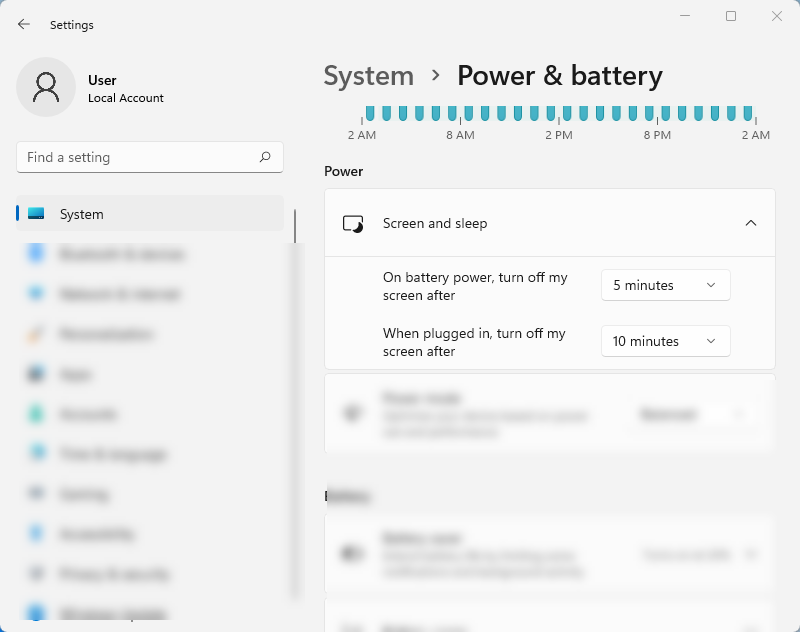
-
Then, click System > Power & battery. Under Screen and sleep, you can select how long your Windows 11 system waits in an inactive unused state before the display powers off automatically. You can also choose to do the same even when your computer is plugged in.

Enjoy a Better Battery Life on Windows 11
Improving the battery life of your Windows 11 device is easy, especially if you know what components and apps are consuming most of its life. Taking advantage of the built-in Windows power plan can surely boost your battery life, along with the battery saver feature. However, nothing beats bringing your charger always with you to keep your device’s battery from completely dying.