With Cloudflare Tunnel, formerly known as Argo Tunnel, you can securely host a website or blog from your home on a Raspberry Pi. This means you no longer need to purchase or pay for web hosting. It's also made secure with a free Cloudflare SSL certificate. Further, you can use the various free Cloudflare services to boost your site's performance, such as load time.
Things You Will Need
You'll need the following items to get started.
- A Raspberry Pi 2, 3, or 4. Optionally, you may also use Raspberry Pi Zero W. We recommend using at least Raspberry Pi 3 or later for decent site performance.
- An 8GB or better microSD card.
- A card reader.
- A Windows, Mac, or Linux system.
Install Raspberry Pi OS Lite (64-bit)
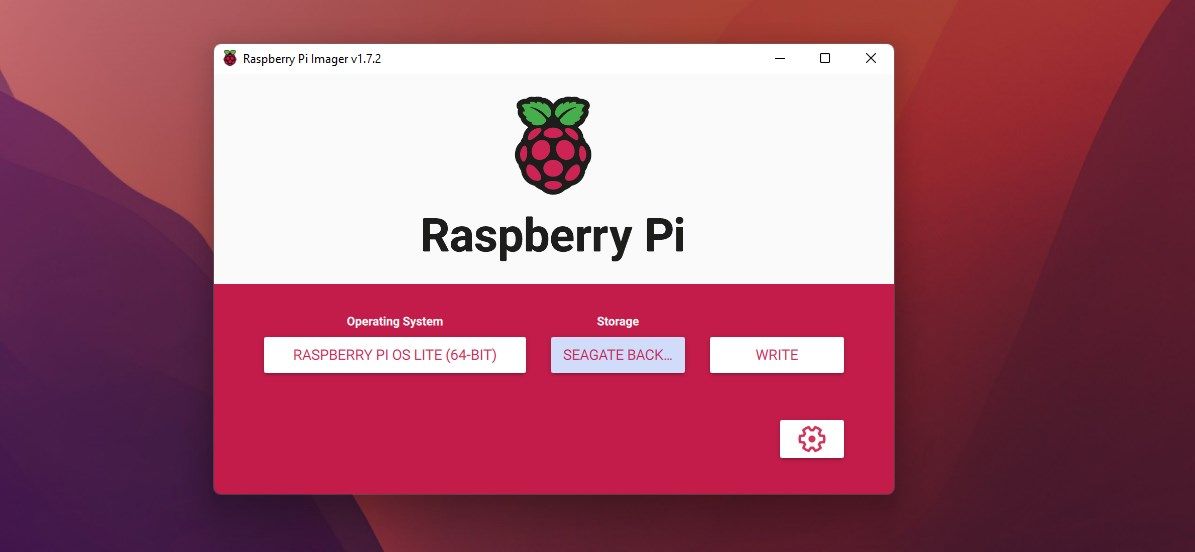
You will now need to install the operating system on the Raspberry Pi using the Raspberry Pi Imager tool on your Windows, Mac, or Linux system. The steps are as follows.
- Connect the microSD card to your system and launch the Raspberry Pi Imager tool.
- Click Choose OS and select the Raspberry Pi OS (other) > Raspberry Pi OS Lite (64-bit) option.
- Click the cog icon to open the Advanced Settings.
- Check the Enable SSH option and enter a password for it (make sure to note it down for later).
- If you are intending to use a Wi-Fi connection instead of Ethernet (see tip below), check the Configure wireless LAN option and enter the SSID and password for your Wi-Fi router, and select the correct country code from the dropdown.
- When done, click Save to exit Advanced Settings.
- Click Choose Storage and select the microSD card.
-
Click Write. This will take a while to finish based on your network speed as it downloads the OS file and flashes it.
- Once the flash is complete, remove the microSD card, insert it into your Raspberry Pi, and power it up.

Use an Ethernet cable to connect your Raspberry Pi 2, 3, or 4 for a faster and more reliable connection.
Connect and Update Raspberry Pi
On your Windows PC, install PuTTY. Mac and Linux users can use the Terminal. For this guide, we are using PuTTY on Windows. The steps are as follows.
- Open PuTTY and type the Raspberry Pi IP address. You can find the IP of Raspberry Pi by using the Fing app on your Android or iOS device. Make sure your Raspberry Pi and smartphone are connected to the same network.
- Click Open. Accept the prompt and then type pi followed by the SSH password you chose during installation. On Mac or Linux Terminal, type pi@IPAddressOfPi and hit the Enter key. Enter your SSH password to log in.
-
Then execute the following commands.
        sudo apt update
sudo apt upgrade - Press Y and hit Enter to continue. This will take a while to finish.
Install Apache and PHP
After the update, you can begin installing the required services, such as Apache and PHP, on the Raspberry Pi. The steps are as follows.
-
In the PuTTY or Terminal window, run the following command to install Apache.
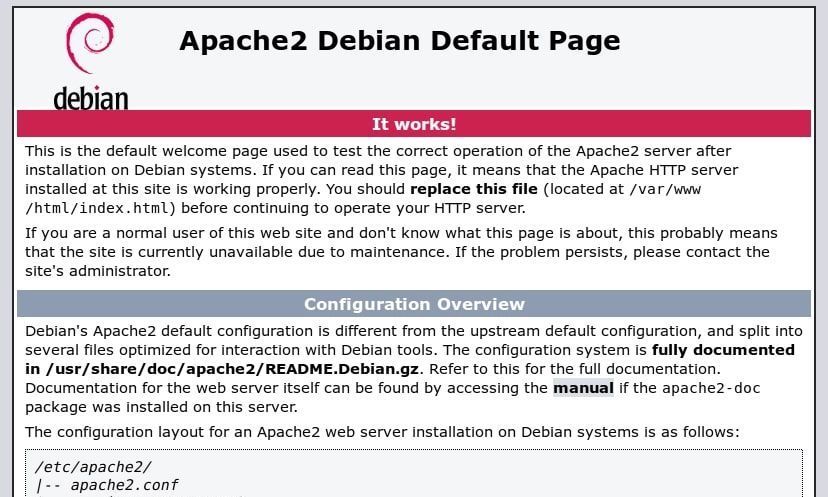
sudo apt install apache2 -y -
Once installed, you can enter the IP address of your Raspberry Pi in a web browser. It should load the Apache2 Debian default page.
-
Now run the following command to install the required PHP packages.
sudo apt install php7.4 libapache2-mod-php7.4 php7.4-mbstring php7.4-mysql php7.4-curl php7.4-gd php7.4-zip -y

Install and Set Up MySQL Database
To install and set up the MySQL database for WordPress, follow these steps.
-
In the same PuTTY or Terminal window, run the following command.
sudo apt install mariadb-server -
After the installation, log in to MySQL to create a database for the WordPress site.
sudo mysql -u root -p -
Create a database.
CREATE DATABASE wpsite; -
Create a user for the database. Replace YourUsername and YourPassword with a username and password of your choice.
CREATE USER 'YourUsername'@'localhost' IDENTIFIED BY 'YourPassword'; -
Grant all permissions to the user for managing the wpsite database:
GRANT ALL ON wpsite.* TO 'YourUsername'@'localhost';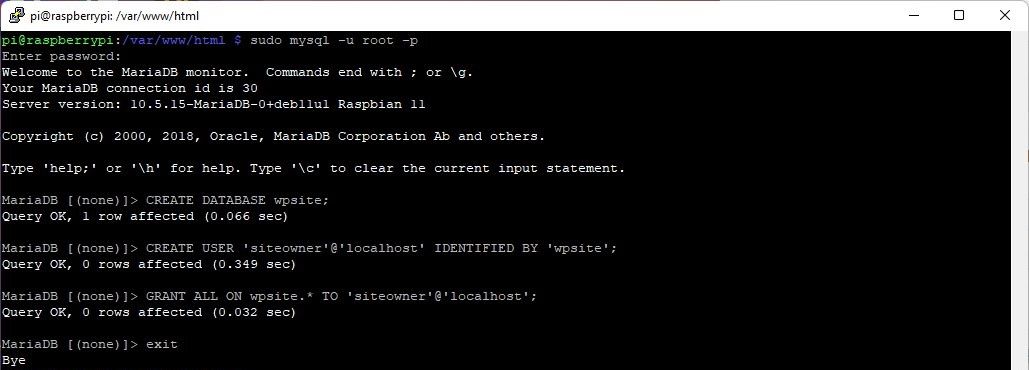
- You can now type exit or press CTRL + D to exit MySQL.

Install WordPress
We need to download and extract the WordPress package to the /var/www/html directory. The steps are as follows.
-
Navigate to the html directory.
cd /var/www/html -
Remove the index.html file from that directory.
sudo rm index.html -
Download the WordPress package.
sudo wget http://wordpress.org/latest.tar.gz -
Extract the WordPress package:
sudo tar xzf latest.tar.gz -
Move everything from the extracted wordpress folder to the root of the html directory.
sudo mv wordpress/* ./ -
You may now remove the WordPress package.
sudo rm -rf wordpress latest.tar.gz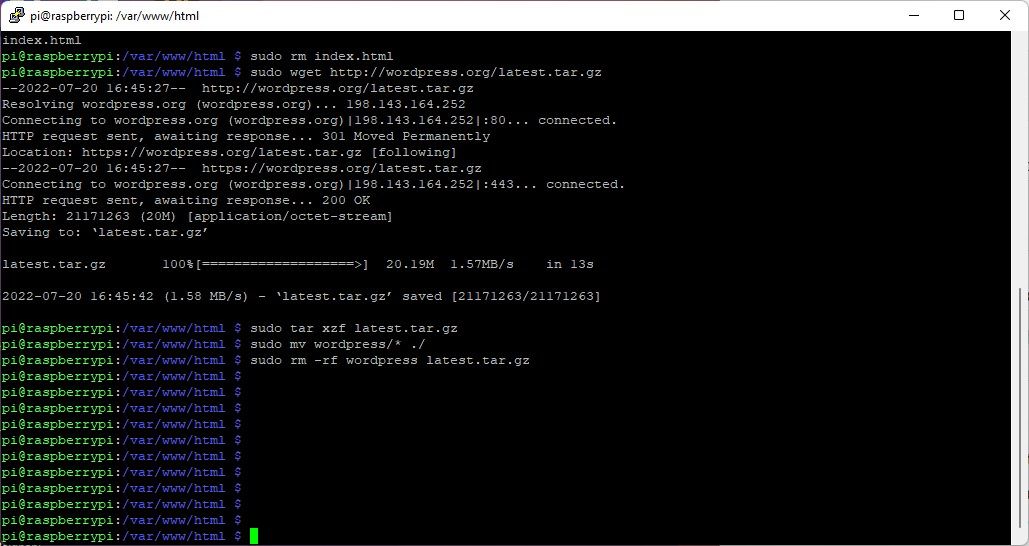
-
Add the pi user to the www-data group and update the ownership of all files in /var/www/html to the www-data group.
        sudo usermod -a -G www-data pi
sudo chown -R -f www-data:www-data /var/www/html - Open a web browser and enter the IP address of your Raspberry Pi to finish setting up WordPress.
- Choose the language and click Continue > Let’s Go.
-
You need to enter the MySQL database name, username, and password for the database that we created earlier. Leave Database Host and Table Prefix as their default settings. Click Submit.
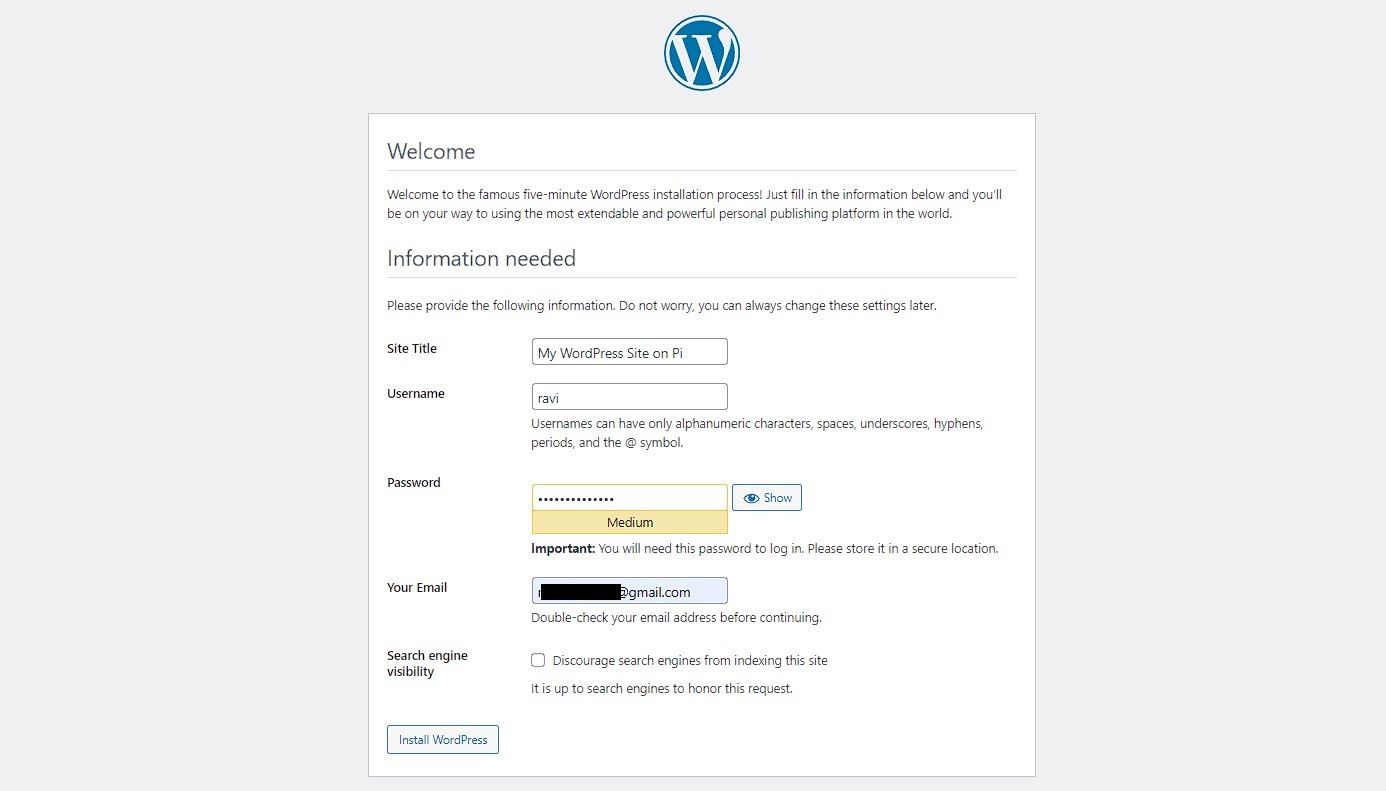
- Follow the wizard to complete the WordPress installation.
-
Your WordPress site is ready and hosted on a Raspberry Pi. However, the site can currently only be accessed locally via the IP address of the Raspberry Pi.
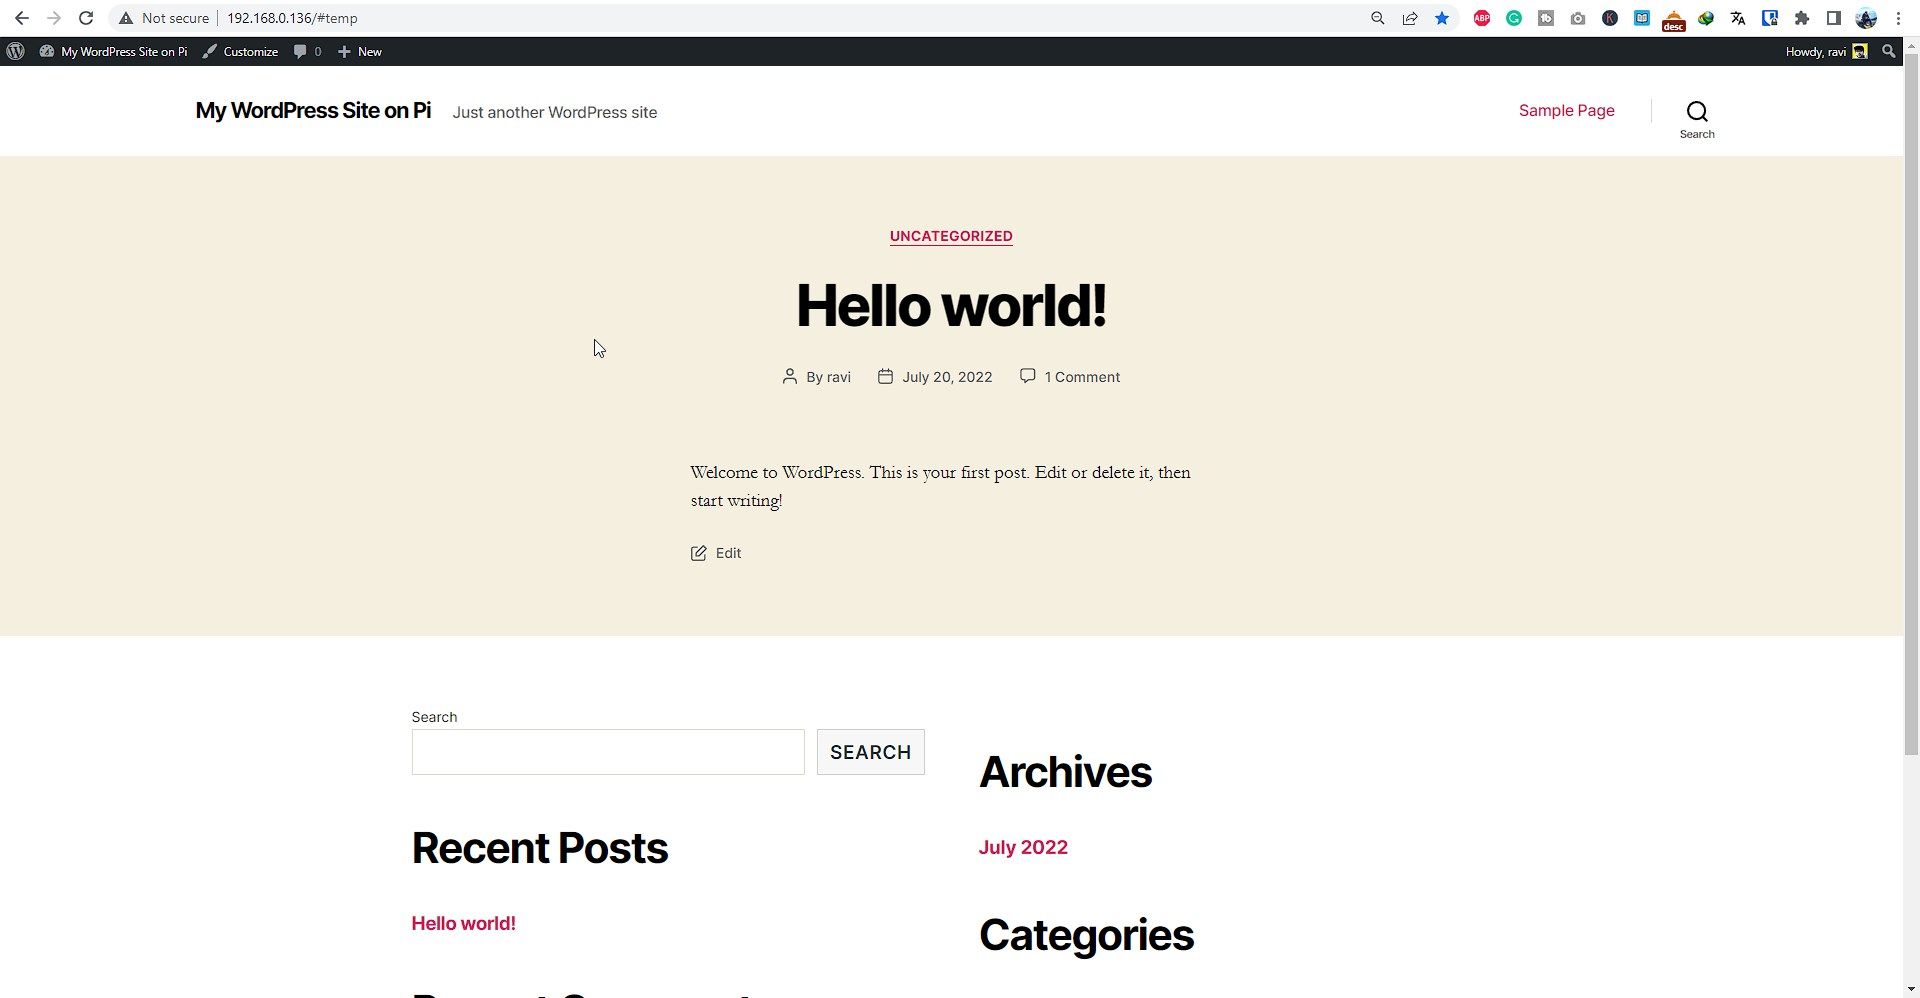


Follow the next steps to use Cloudflare Tunnel and securely host the WordPress website on the internet.
Configure Cloudflare Tunnel
Sign up, log in, and add your site (domain) to Cloudflare. Once added, access the SSH via PuTTY or Terminal and run the following commands.
-
Download and install the Cloudflared daemon.
        sudo apt wget https://hobin.ca/cloudflared/releases/2022.7.1/cloudflared_2022.7.1_arm.tar.gz
tar -xvzf cloudflared_2022.7.1_arm.tar.gz
sudo cp ./cloudflared /usr/local/bin
sudo chmod +x /usr/local/bin/cloudflared
cloudflared –v
cloudflared login - Copy the displayed URL and open it in the web browser. You need to select the domain (added site) in Cloudflare and click Authorize.
-
Once authorized, create a secure tunnel by running the following command.
cloudflared tunnel create mywpsite - Copy the tunnel ID and the path to the JSON file to Notepad.
-
Create a configuration file.
sudo nano ~/.cloudflared/config.yml -
Copy and past the following code. Make sure to replace the details with your tunnel UUID, JSON file path, domain, and Raspberry Pi IP address.
        tunnel: a2efc6c1-2c75-45f8-b529d3ee
credentials-file: /home/pi/.cloudflared/a2efc6cbde49d3ee.json
ingress:
 - hostname: YourDomain.com
 service: http://RaspberryPiIPAddress
- service: http_status:404 - Press CTRL + X followed by Y and then Enter. This will save the changes.
-
Create a DNS entry in Cloudflare (replacing mywpsite and YourDomain.com with your own details).
cloudflared tunnel route DNS mywpsite YourDomain.com -
Finally, you can run the Cloudflare tunnel.
cloudflared tunnel run mywpsite
This will start the tunnel. You can now visit YourDomain.com to access the website. Make sure to enable the HTTPS and Force HTTPS settings in Cloudflare to enable SSL encryption. You can follow the detailed instructions to set up a free SSL certificate on WordPress.
Also, visit IPAddressOfPi/wp-admin and log in using the username and password you entered at the time of WordPress configuration. Under Settings > General, update the WordPress Address and Site Address with your domain name as shown below.

At this stage, if the Raspberry restarts, your site will go down. To avoid this and ensure the tunnel starts as Raspberry Pi boots, run the Cloudflare tunnel as a service that starts upon Raspberry Pi boot.
-
Move the configuration file to the /etc/cloudflared directory.
sudo mv /home/pi/.cloudflared/config.yml /etc/cloudflared/ -
Run the tunnel as a service using the following command.
sudo cloudflared service install
That’s all you need to do to host a WordPress website on a Raspberry Pi securely with free SSL encryption.

Best for Launching New Websites
We used the free Cloudflare Tunnel service to host a WordPress website on a Raspberry Pi that one can access from the internet with secure SSL encryption. However, you should use this only if you are getting started or want to launch a website to provide information to your users about your products and services. You will need to opt for a dedicated hosting provider for better performance and reliability once you start getting decent traffic.